Two weeks ago I got new windows including window covers. The roller shutters are driven by a Somfy radio motor.
Like many of those motors available, they are still not compatible with Apple HomeKit. Also (if available in the futur) the integration would cost ~300€ to buy a Somfy TaHome (base station).
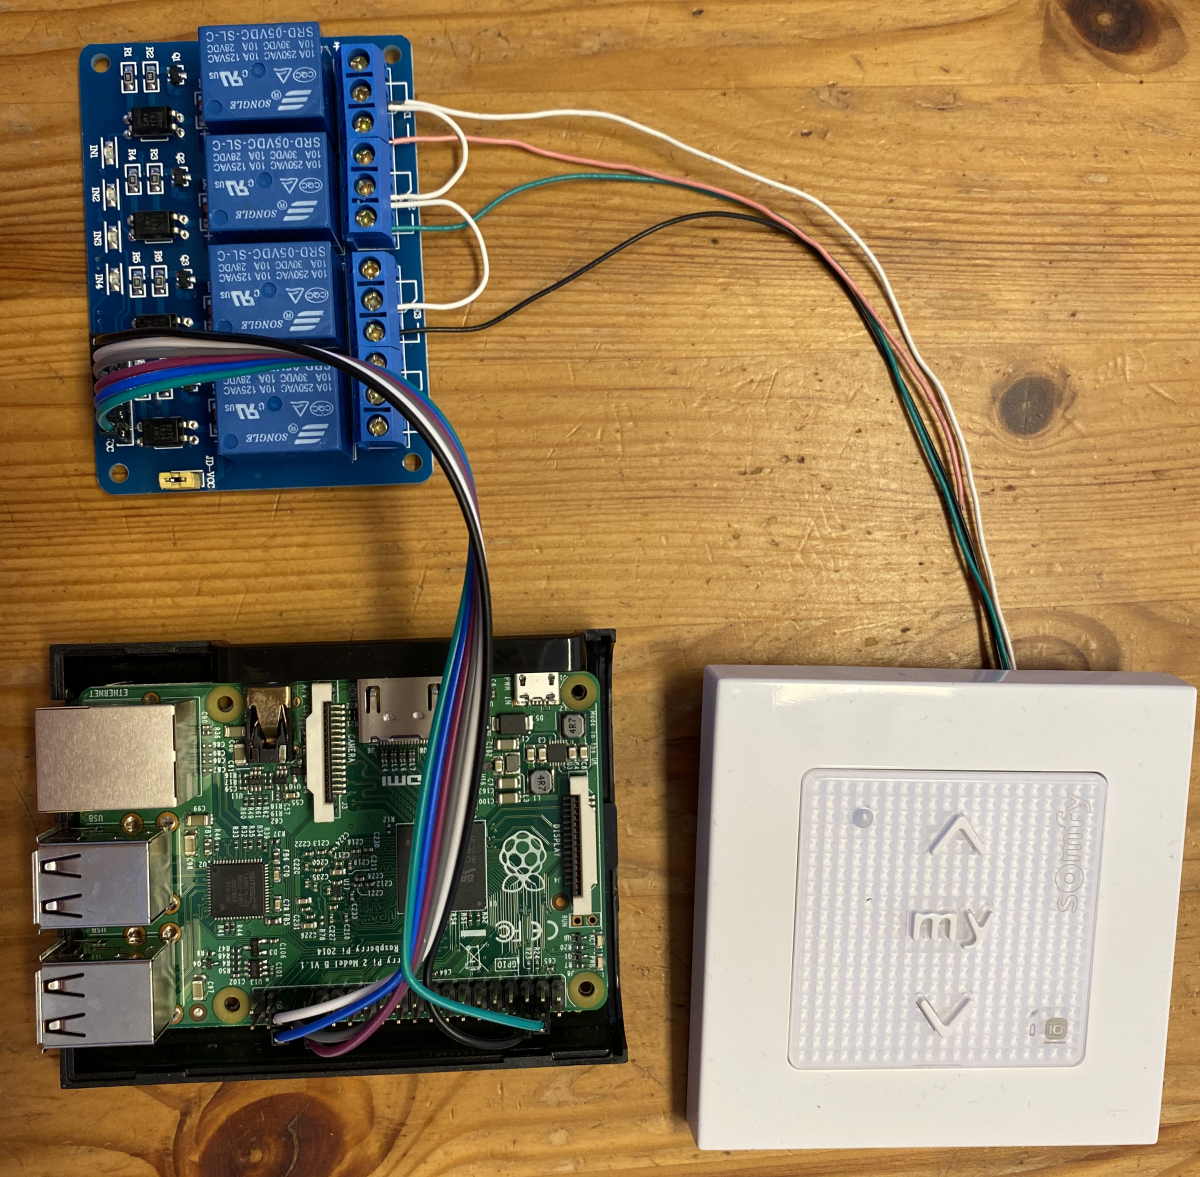
As with my driveways on my property, I wanted to use the radio technology provided and simply connect the remote control to HomeBridge on a Raspberry Pi
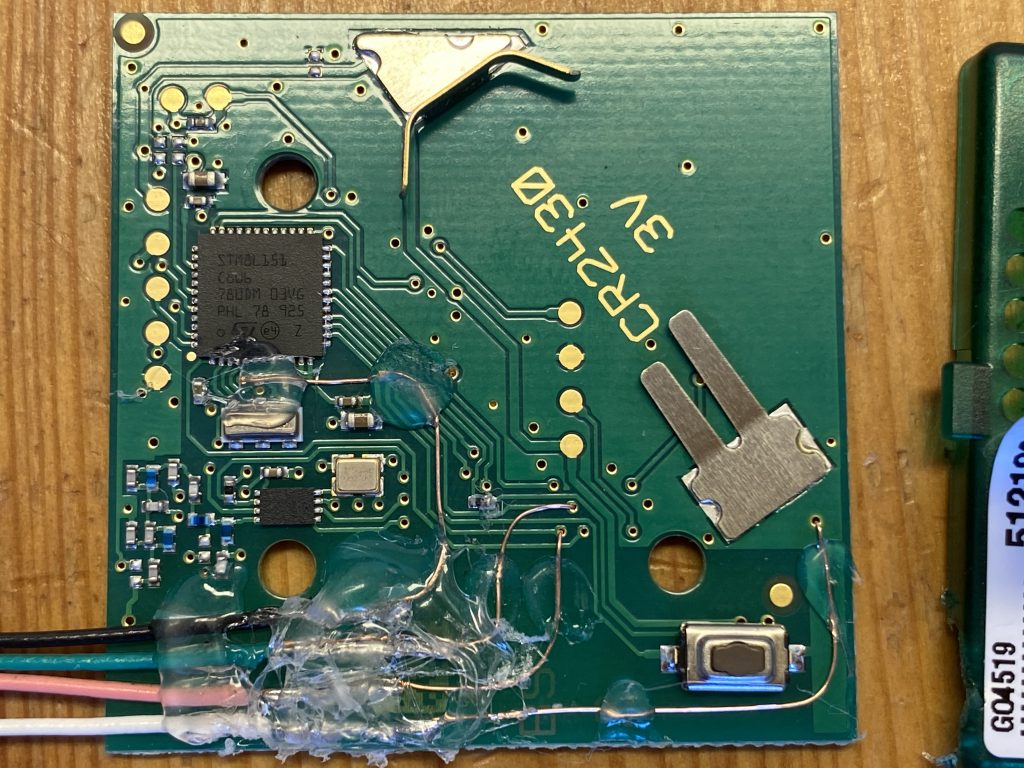
A wall switch was supplied with the motors. So I carefully disassembled the remote control of the Somfy remote switch and analysed how I could bridge the buttons of the remote control to my Raspberry Pi. Unfortunately the remote control has no soldering pads that can easily be used to connect the GPIOs of the Raspberry Pi. I have decided to use the VIA (vertical interconnect access) to connect. In these I put a single wire from a stranded wire to make the contact (yes, no soldering – not perfect but working).
On the following image you can see which contact points have to be led out of the switch to be able to control all buttons remotely.

The thin wires are soldered to usual wires. All of them are attached to the board with hot glue. The hot glue also protects against contact with the battery and other contact points.

To control the railais with Rasperry Pi via HomeKit I use homebridge with the plugin homebridge-gpio-device.
The rollo motors / remote control / rails are then configured with the following configuration.
{
    "bridge": {
        "name": "Mirror & Rollos",
        "username": "0E:C2:3D:7E:B4:5C",
        "port": 51454,
        "pin": "260-44-014"
    },
    "accessories": [
        {
            "accessory": "GPIODevice",
            "name": "Rollos",
            "type": "WindowCovering",
            "pins": [
                12,
                13
            ],
            "inverted": true,
            "shiftDuration": 2,
            "initPosition": 100
        },
        {
            "accessory": "GPIODevice",
            "type": "StatelessProgrammableSwitch",
            "name": "Push Button",
            "pin": 14
        }
    ],
    "platforms": [
        {
            "name": "Config",
            "port": 8581,
            "auth": "form",
            "theme": "auto",
            "tempUnits": "c",
            "lang": "de",
            "platform": "config"
        }
    ]
}
Fix of README.md for installation with a Raspberry Pi 4 (Pull Request is still open at the time of writing this article): https://github.com/AndreasPrang/homebridge-gpio-device

